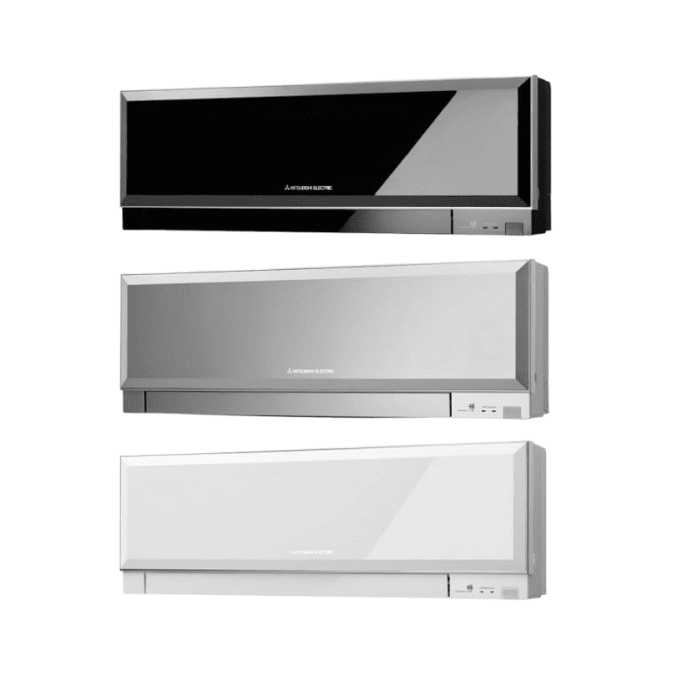
Manuals for Appliances
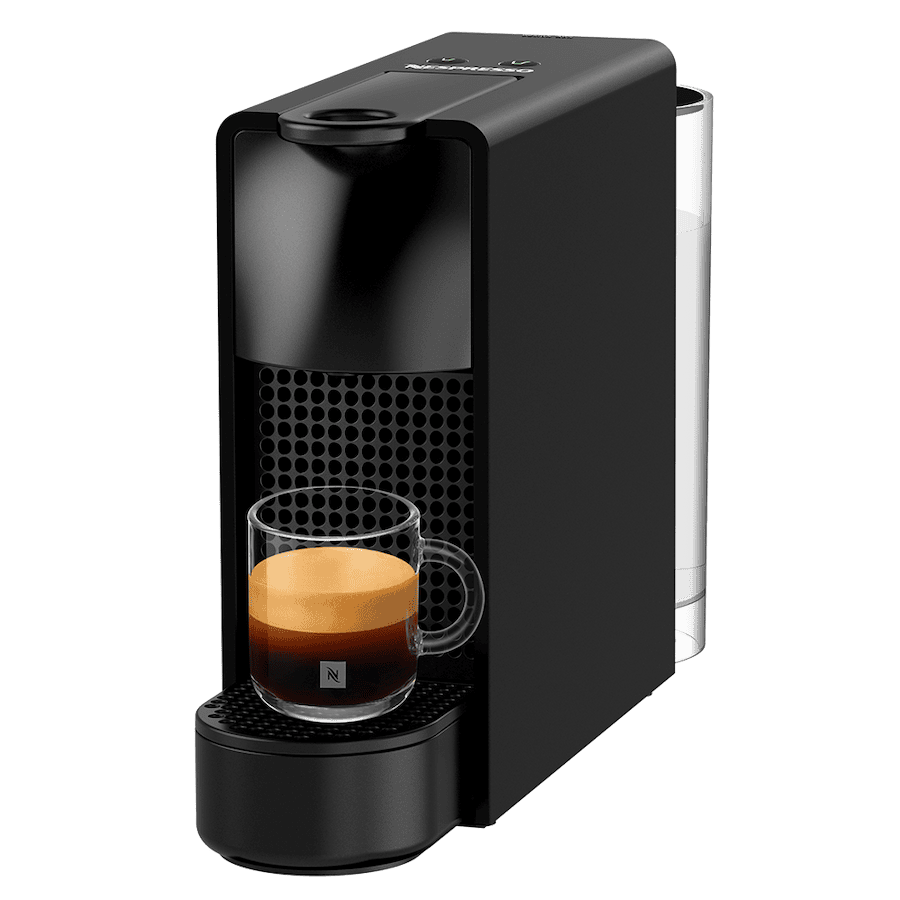
Coffee Machine Instructions
Nespresso Essenza Mini**
Before You Start
Fill the water tank on the back with fresh drinking water.
Make sure the machine is plugged in.
Making a Coffee
- Press either Espresso (small cup) or Lungo (large cup) button to heat up the machine. The lights will blink while heating (approx. 25 seconds).
- Lift the lever on top.
- Insert a Nespresso-compatible capsule.
- Close the lever firmly.
- Place your cup underneath.
- Press:
Espresso = small coffee
Lungo = larger coffee - The coffee will stop automatically.
After Brewing
- Lift the lever again to eject the used capsule into the internal container.
- Empty the capsule container when full.
Hot Water (no capsule)
Remove any capsule (open/close lever).
Press Lungo and let the machine run. (Useful for tea or rinsing the cup.)
Energy Saving
- The machine turns off automatically after 9 minutes of inactivity.
Cleaning & Care
- Rinse the machine daily by running one Lungo cycle with no capsule.
- Wipe with a soft cloth.
- Do not wash any parts in the dishwasher.
Important Notes
- Use only our capsules or Nespresso-compatible capsule.
- Do not open the machine while brewing.
- Do not use milk or liquids inside the machine—only water goes in the tank.
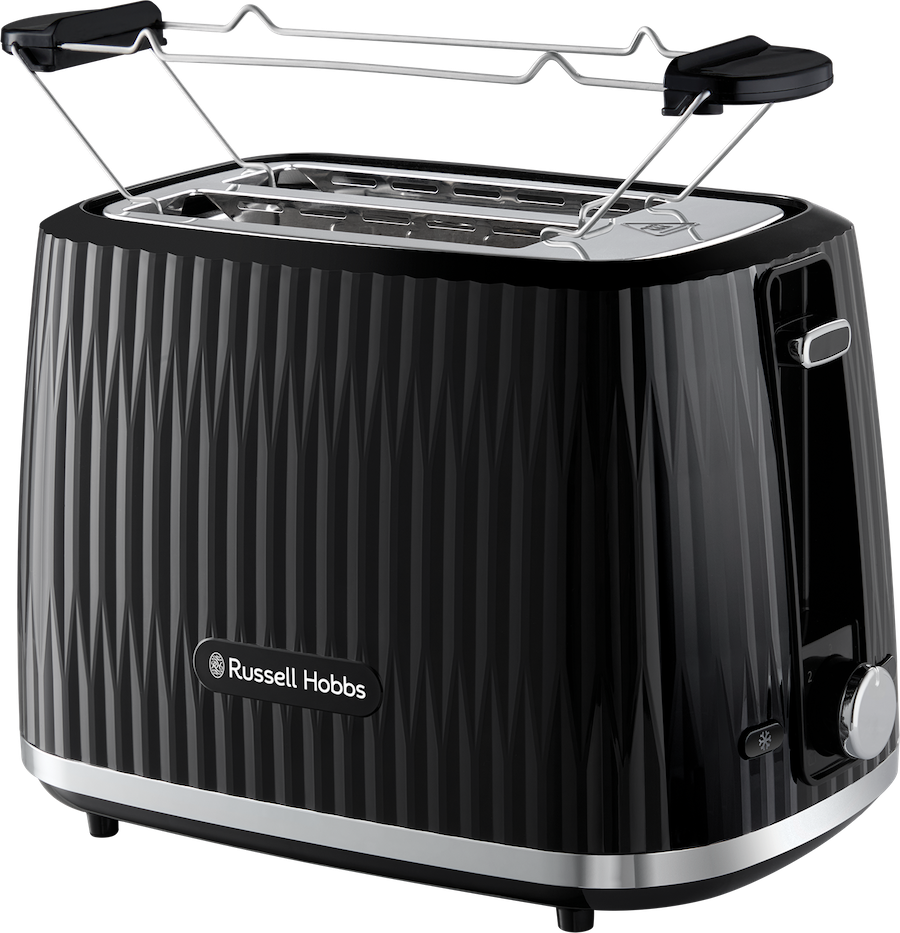
Toaster Instructions
Russell Hobbs 27371-56**
Before Use
- Ensure the toaster is plugged in.
- Make sure the crumb tray is properly inserted.
Toasting Bread
- Place one or two slices of bread into the slots.
- Turn the browning control dial to choose your preferred level (1 = light, 6 = dark).
- Push the lever down until it locks.
- Toasting will begin automatically and pop up when finished.
Reheat Function
Press the Reheat button to warm toast without browning it further.
Defrost Function
Press the Defrost button to toast frozen bread directly from the freezer.
Cancel Button
Press the Cancel button at any time to stop toasting immediately.
After Use
- Allow the toaster to cool before touching metal parts.
- Empty the crumb tray regularly for safety and cleanliness.
Important Notes
- Do not insert metal objects (knives, forks) into the toaster.
- Do not toast items with fillings (cheese, butter, etc.).
- Keep the toaster clear of curtains and flammable materials.
- If bread gets stuck, unplug the toaster before removing it.
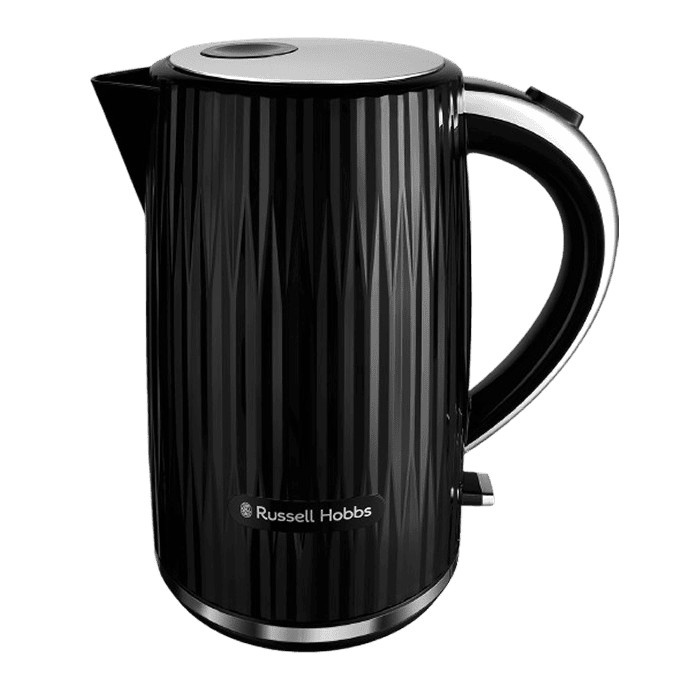
Kettle Instructions
Russell Hobbs 27361-70 / RH Eden**
Before Use
- Place the kettle on its base.
- Fill with fresh water up to the MAX line.
- Do not overfill.
- Ensure the lid is closed properly.
Boiling Water
- Fill the kettle with the desired amount of water.
- Place it securely on the base.
- Switch the ON/OFF lever down to start boiling.
- The power light will turn on.
- The kettle will automatically switch off once the water has boiled.
After Use
- Carefully pour hot water to avoid steam burns.
- Allow the kettle to cool before refilling.
- Empty any remaining water if not needed.
Cleaning
- Unplug the base before cleaning.
- Wipe the exterior with a soft, damp cloth.
- Do not immerse the kettle or base in water.
- Descale occasionally if you notice limescale buildup.
Important Notes
- Boil water only – no milk or other liquids.
- Always keep the kettle on the base while operating.
- Do not open the lid while the water is boiling.
- Ensure the kettle has at least the minimum water level before switching on.
Microwave Instructions
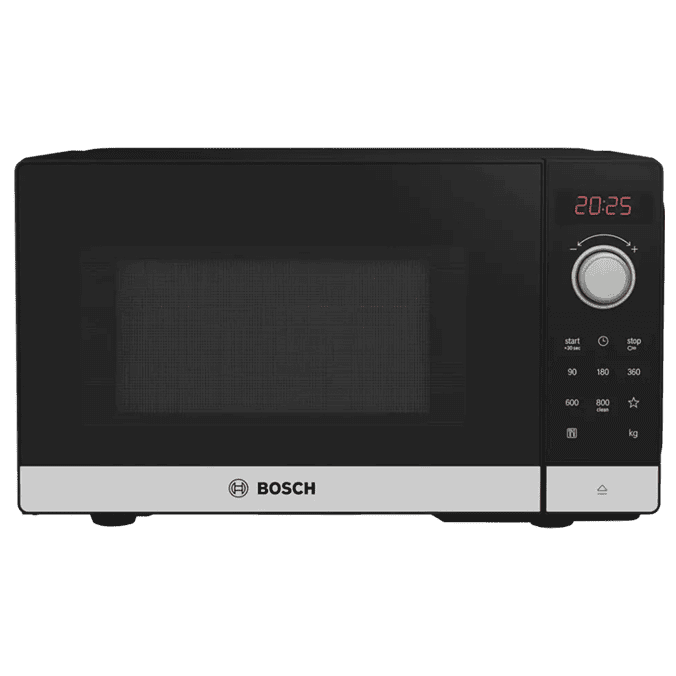
Bosch FFL023MS2**
How to Use
- Open the microwave door using the handle.
- Place your food or drink inside on the glass turntable.
- Use only microwave-safe containers (no metal, no foil).
Heating Food
- Turn the Power/Time dial to select heating time (e.g., 1–3 minutes).
- Press Start to begin heating.
- The microwave will stop automatically when the time finishes.
Changing Power Level
- Press the Power button.
- Rotate the dial to choose the level:
- P100 – High (fast heating)
- P80 – Medium-high
- P60 – Medium (recommended for most dishes)
- P40 / P20 – Low (gentle heating, defrosting)
- Press Start, then set the heating time.
Defrosting
- Press the Defrost button.
- Select weight or time using the dial.
- Press Start.
After Use
- Carefully remove hot dishes (steam may escape).
- Wipe the inside with a soft, damp cloth if needed.
- Leave the door slightly open for ventilation.
Important
- Never use metal containers or cutlery inside.
- Do not operate when empty.
- Keep the turntable clean and properly seated.
Induction Hob Instructions
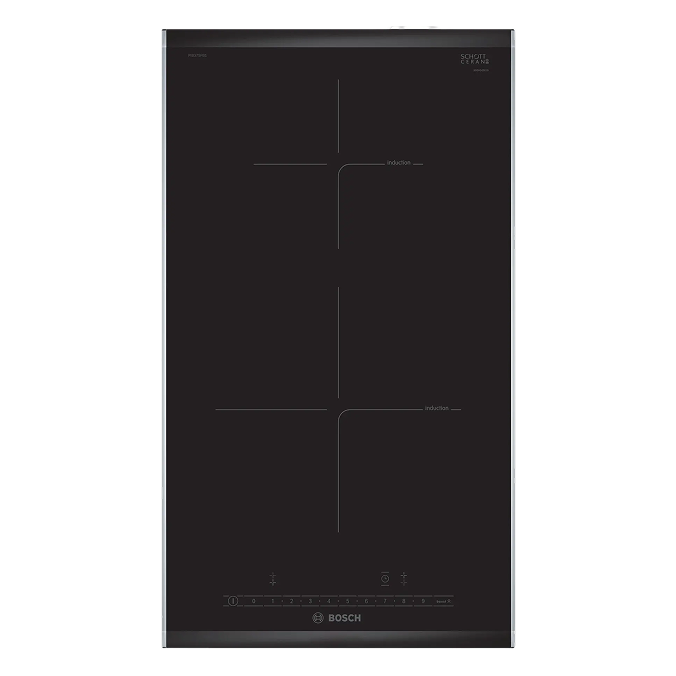
Bosch PIB375FB1E**
Before You Start
- Use only induction-compatible cookware (the bottom should be flat and magnetic).
- Make sure the pot is placed in the center of the cooking zone.
Turning On
- Touch the Power (ON/OFF) symbol to activate the hob.
- A “0” will appear on the display.
Using the Cooking Zones
- Place the pot on the zone you want to use.
- Touch the cooking zone selector for that zone (the display will blink).
- Set the heat level by sliding your finger on the scale (1–9):
- 1–3 = low heat (simmering, warming)
- 4–6 = medium heat (cooking)
- 7–9 = high heat (boiling, frying)
- P (PowerBoost) = extra fast heating
PowerBoost (Fast Boil)
- Select the cooking zone.
- Touch “P” to activate PowerBoost.
- Use for short periods only (e.g., to boil water quickly).
Turning Off a Cooking Zone
- Select the zone.
- Touch the “0” to switch it off.
- The display may show “H” (hot) until the surface cools down.
Turning Off the Whole Hob
- Touch the Power (ON/OFF) symbol.
- All cooking zones will turn off.
Child Lock / Safety Lock (if activated)
- Touch and hold the key/lock symbol for several seconds to lock or unlock the hob.
(Useful to prevent accidental touches.)
Important Safety Notes
- The glass may stay hot for a few minutes (hot indicator “H”).
- Do not place empty pots or metal objects on the hob.
- Always clean spills after the hob cools down.
Dishwasher Instructions
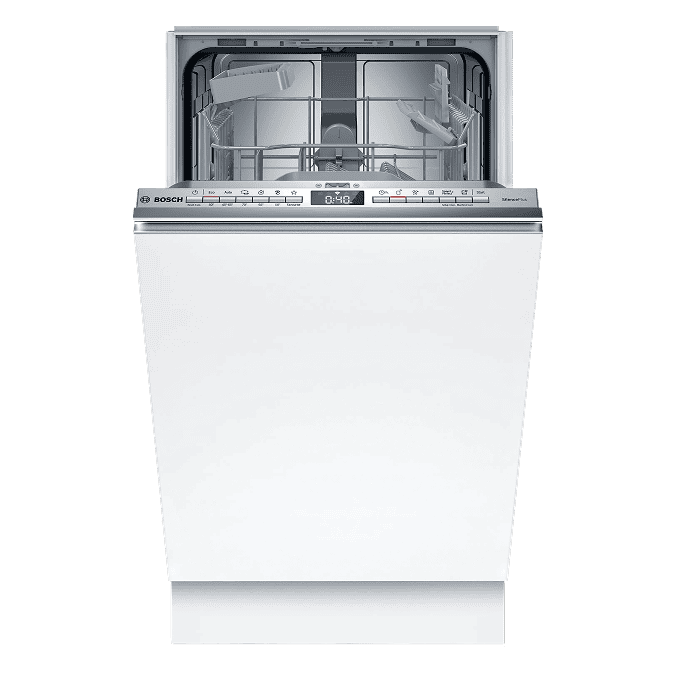
Bosch SPV4HMX49E**
How to Use
- Open the dishwasher door gently.
- Pull out the lower rack.
- Place the dishes inside (please rinse large food residues first).
- Open the small detergent compartment on the inside of the door.
- Put one dishwasher tablet inside the compartment and close the lid.
- Push the racks back in and close the door firmly.
Start the Wash Cycle
- Press the Power button.
- Select the preferred program:
- Auto 45–65°C (recommended for daily use)
- Eco 50°C (energy-efficient)
- Quick (for lightly soiled dishes)
- Press Start.
After Washing
- Wait a few minutes after the cycle finishes.
- Open the door slightly to allow steam to escape and dishes to dry.
- Once cool, remove dishes starting from the bottom rack (so water from the top does not drip on clean items).
Important
- Use only dishwasher-safe items.
- Do not overfill the machine.
- Do not block the spray arms.
- For safety, keep dishwasher tablets out of the reach of children.
Refrigerator Instructions
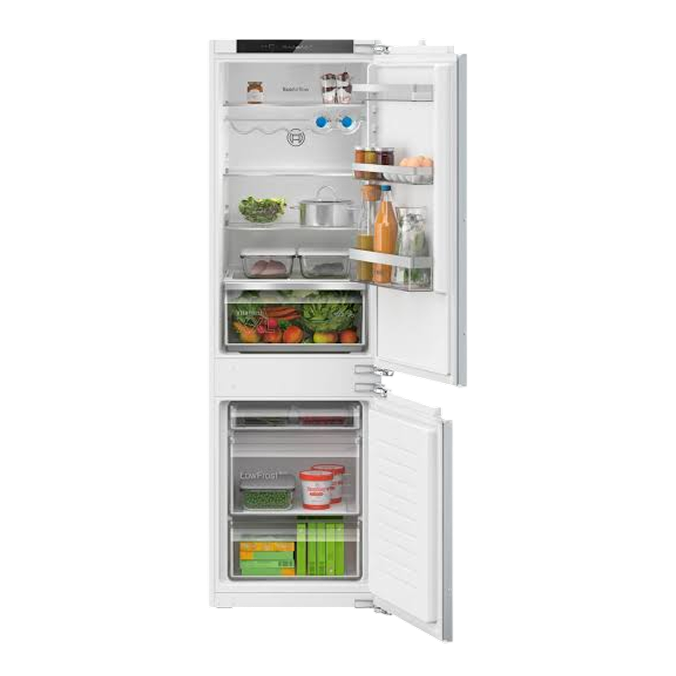
Bosch KIV86VFE1**
About the Appliance
This is a combined fridge + freezer unit with automatic temperature control.
Fridge (Upper Section)
Using the Fridge
- Simply open the door and place your food inside.
- Do not block the air vents at the back – cold air must circulate.
- Always store warm dishes only after they cool down to room temperature.
Temperature
- The fridge is pre-set to an ideal temperature (around 4°C).
- If you wish to adjust:
- Press the Temperature button inside the fridge.
- Choose a setting from 1 (warmer) to 5 (colder).
- Recommended setting: 3.
Humidity Control (Crisper Drawer)
- Slide the humidity control to:
- High = vegetables
- Low = fruits
Freezer (Lower Section)
Using the Freezer
- Pull out the drawers and place your frozen food inside.
- Do not overfill – leave space for air circulation.
Freezing Fresh Food
- Place fresh food in the top freezer drawer for fastest freezing.
- Close the drawer firmly.
Temperature
- The freezer is factory-set to –18°C (recommended).
- You can adjust using the temperature button near the fridge settings.
Defrosting & Maintenance
- The fridge and freezer are NoFrost, meaning no manual defrosting is needed.
- If ice appears on drawers, simply remove the ice block gently.
- Wipe spills inside with a soft cloth if needed.
Important Notes for Guests
- Always close the doors properly – the alarm may sound if left open.
- Do not store glass bottles in the freezer (they may burst).
- Do not overload the fridge with warm items at once.
- Keep drawers and shelves in their original position for proper airflow.
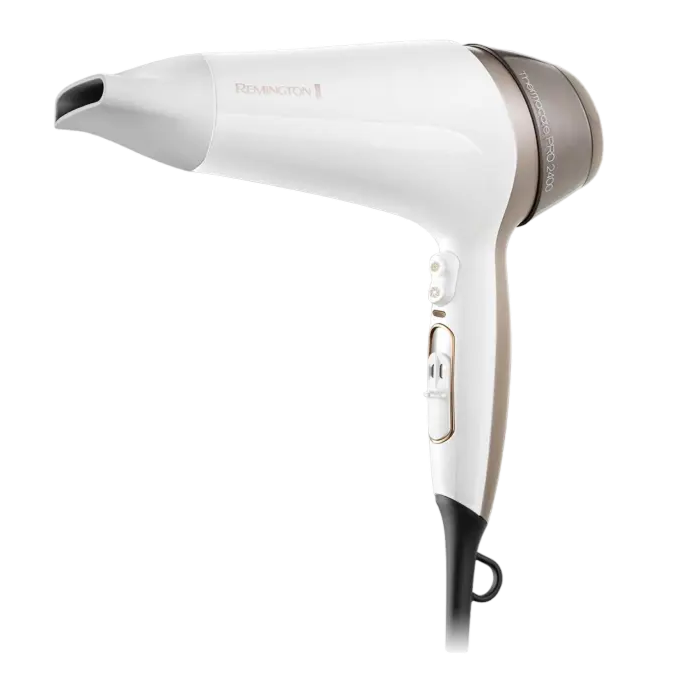
Hair Dryer Instructions
Remington D5720**
Before Use
- Make sure the hair dryer is plugged in.
- Ensure your hands are dry.
Basic Drying
- Switch the ON/OFF slider to your preferred speed:
- I (Low) – gentle airflow
- II (High) – strong airflow
- Select the heat setting:
- ● (Low heat)
- ●● (Medium heat)
- ●●● (High heat)
- Direct the airflow through the concentrator nozzle for smooth styling.
Cool Shot Button
- Press and hold the Cool Shot button for a burst of cool air to set your hairstyle.
- Release to return to warm air.
Attachments
- Concentrator nozzle: for focused, smooth drying.
- Diffuser (if included): for adding volume and drying curls gently.
To attach:
- Push the attachment gently onto the front of the dryer until it clicks.
To remove:
- Allow the dryer to cool, then pull off carefully.
After Use
- Switch the slider to 0 (OFF).
- Unplug the dryer.
- Let it cool completely before storing.
Important Safety Notes
- Do not block the air inlet filter at the back of the dryer.
- Keep away from water — do not use near a bathtub or sink.
- If the dryer overheats, it may shut off automatically; unplug and let it cool.
- Do not place the dryer on soft surfaces while in use.
Air Conditioning Instructions
Mitsubishi MSZ-EF25VGK / MUZ-EF25VG**
Turning the AC On/Off
- Press the ON/OFF button on the remote control.
- The indoor unit will beep and start operating.
Selecting the Mode
Use the MODE button to choose the desired function:
- Cool (snowflake icon) – for cooling
- Heat (sun icon) – for heating
- Dry (droplet icon) – dehumidifying
- Fan (fan icon) – airflow only, no heating or cooling
- Auto – automatically selects cooling or heating
Setting the Temperature
- Use the TEMP ▲ / ▼ buttons to set the temperature.
- Recommended comfort settings:
- Cooling: 22–24°C
- Heating: 22–24°C
- Keep windows and balcony doors fully closed for efficient operation.
Fan Speed
- Press the FAN button to select airflow strength:
- Low
- Medium
- High
- Auto (adjusts automatically)
Airflow Direction
- Press the VANE button to adjust the up/down angle of the airflow.
- Press the WIDE VANE button (if available) to adjust left/right direction.
- For sleeping, aim airflow away from the bed for comfort.
Powerful / Quiet Modes
- Powerful: increases cooling or heating temporarily.
- Quiet: reduces fan noise (ideal for night-time).
(Buttons available on some remote versions.)
Using the Timer (Optional)
- TIMER ON – set a time for the AC to start.
- TIMER OFF – set a time for the AC to stop.
- Adjust time using the ▲ / ▼ buttons.
After Use
- Press ON/OFF to switch off the AC.
- The louvers will close automatically.
- Do not unplug the unit or turn it off at the wall.
Important Notes
- Keep windows and doors closed while using the AC.
- For heating mode, warm air may take a few minutes to start.
- Avoid placing objects near the indoor unit; airflow must circulate freely.
- If the AC is unresponsive, reset the remote batteries or hold ON/OFF for a few seconds.